


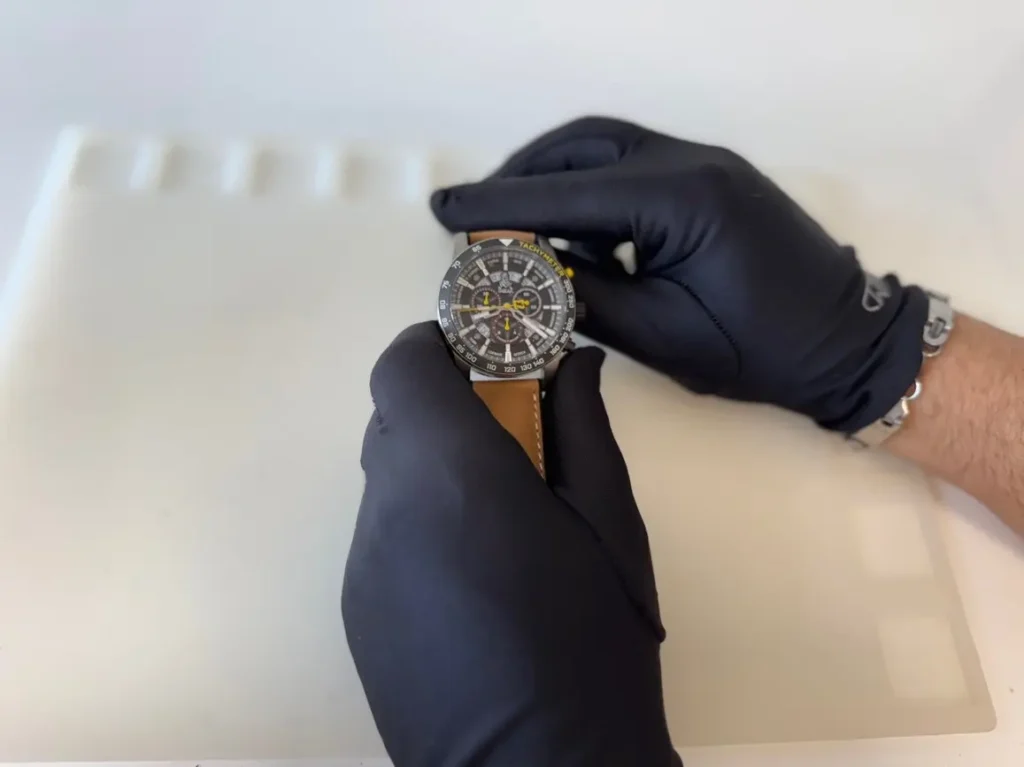
Stopwatch Adjustment – Chronograph Hand Alignment to Zero Position (Movement Type: Chronograph Quartz)
The central seconds hand is often confused with the chronograph function, and questions arise about why the chronograph is not in the “0” position. That is why we have prepared a simple illustrated manual to help you with the setup. ⏱️ If your chronograph watch does not return the stopwatch hands correctly to the “0” position, you can easily adjust them. The procedure may vary slightly depending on the brand and movement type, but the following steps generally apply – below are two variants of the procedure, differing by brand and movement type.
1. Chronograph Hand Alignment to Zero Position
If the chronograph hands are not in the zero position, for example after a battery replacement, they need to be reset. We will show you how to do it.
2. Activating the Correction Mode
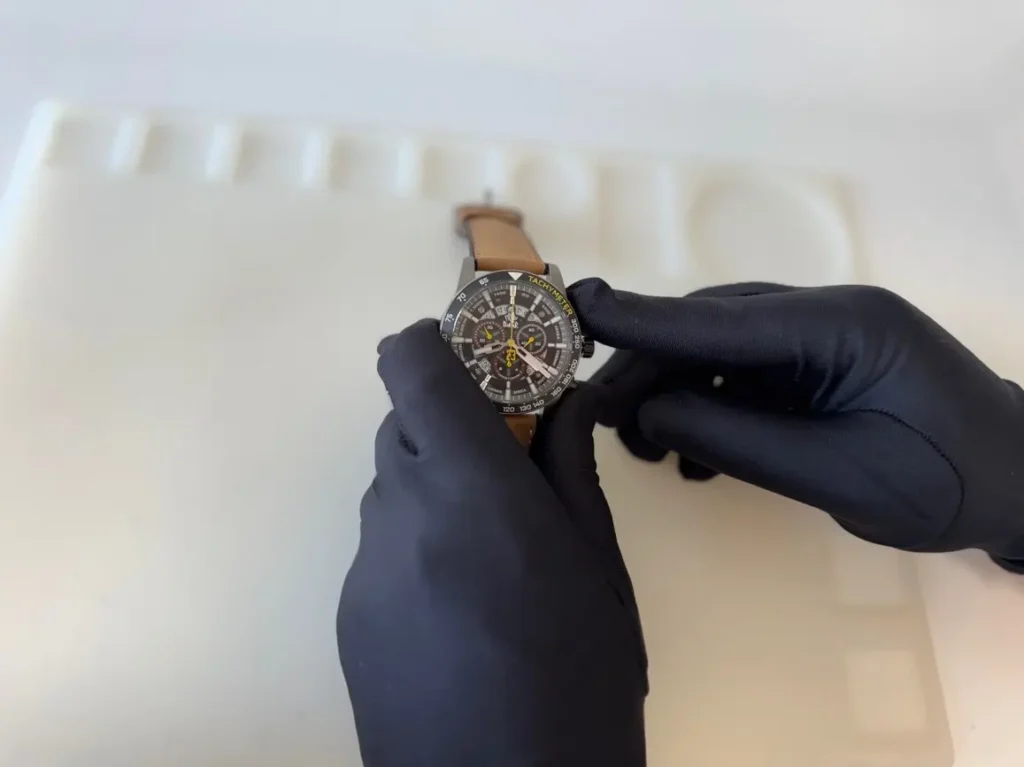
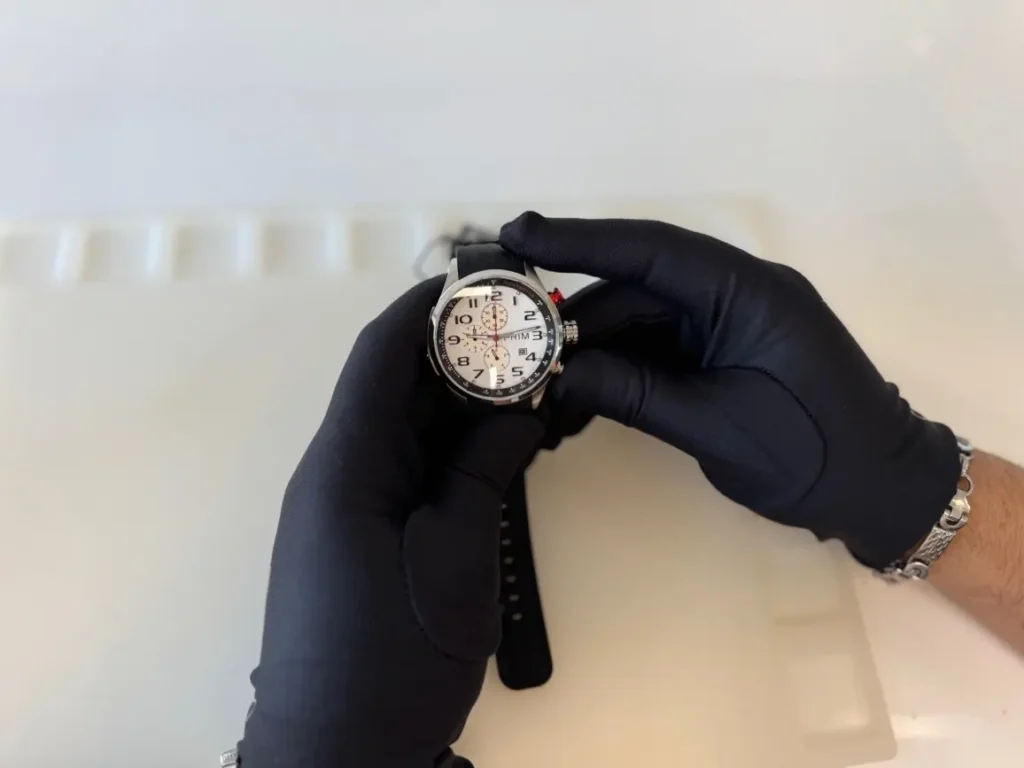
First, unscrew the crown so you can pull it out (if your watch does not have a screw-down crown, simply pull it out).
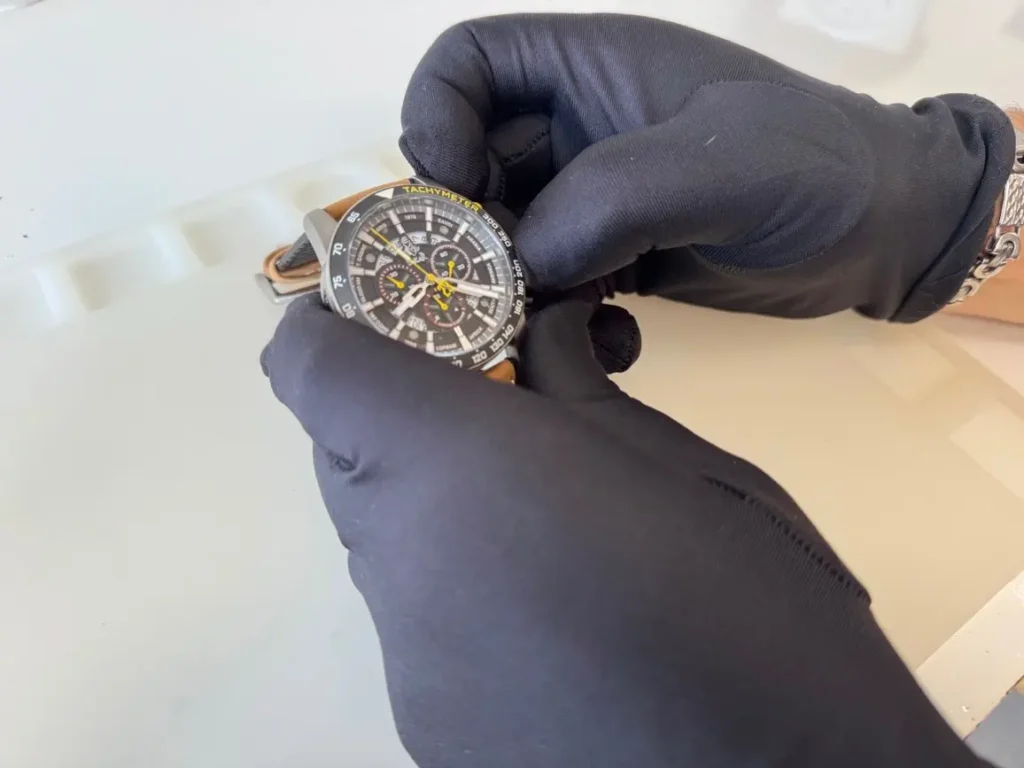
Then press both buttons (upper and lower) simultaneously for at least 2 seconds. The seconds hand will make a full 360° rotation. The correction mode is now activated.
3. Setting the Central Stopwatch Seconds Hand
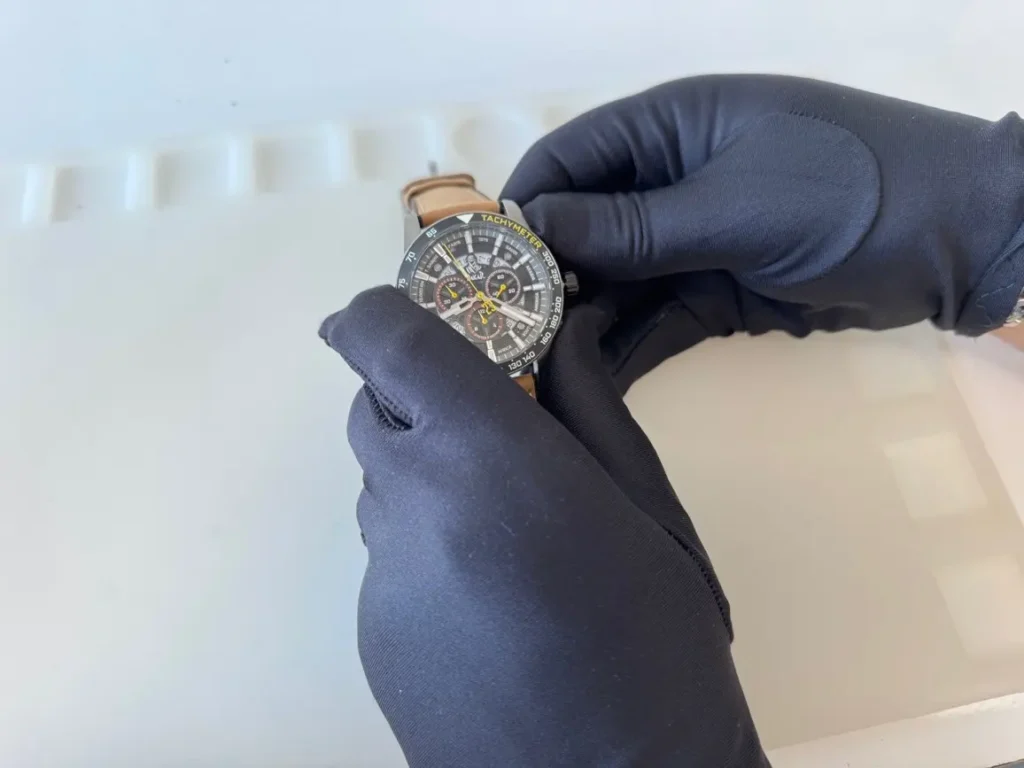
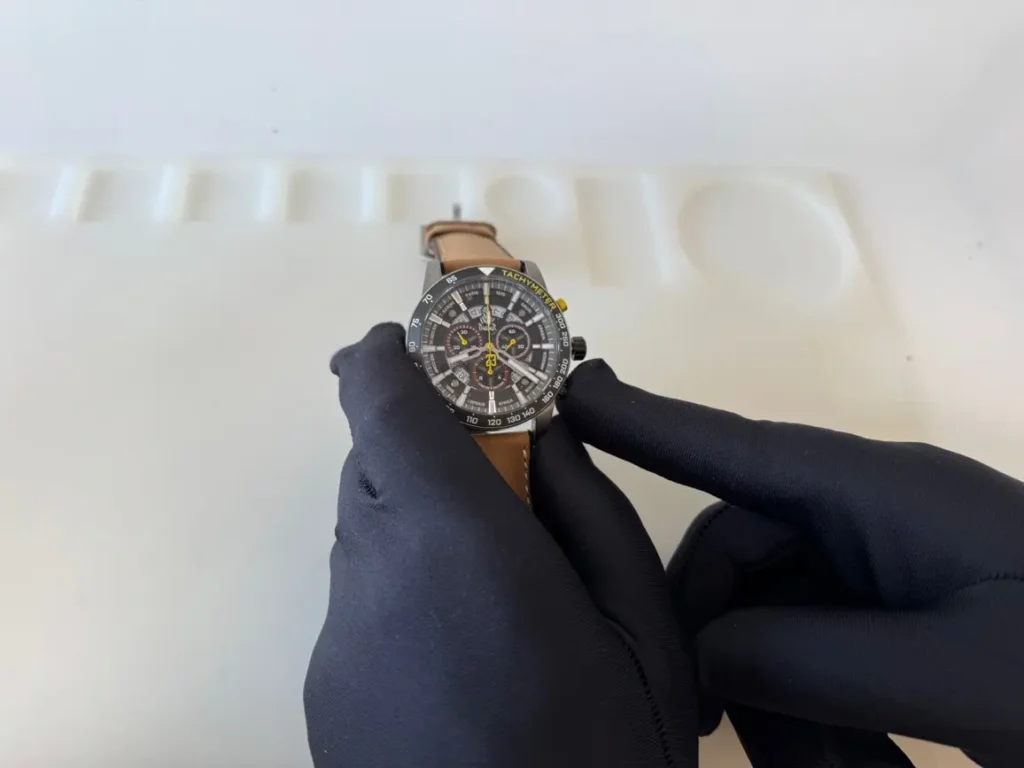
A short press of the upper button moves the hand by one step. A long press moves it continuously (alternatively, you can press repeatedly, one position at a time).
Once the hand is in the zero position, press the lower button to proceed to the next setting.
4. Setting the Hour Counter Hand
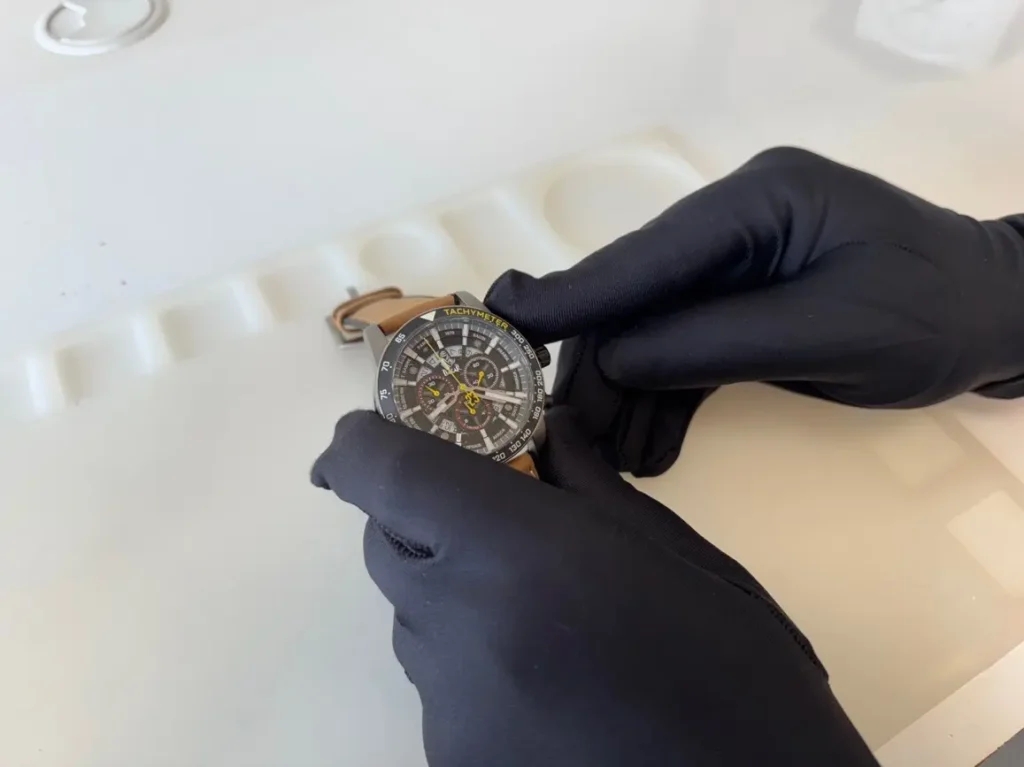
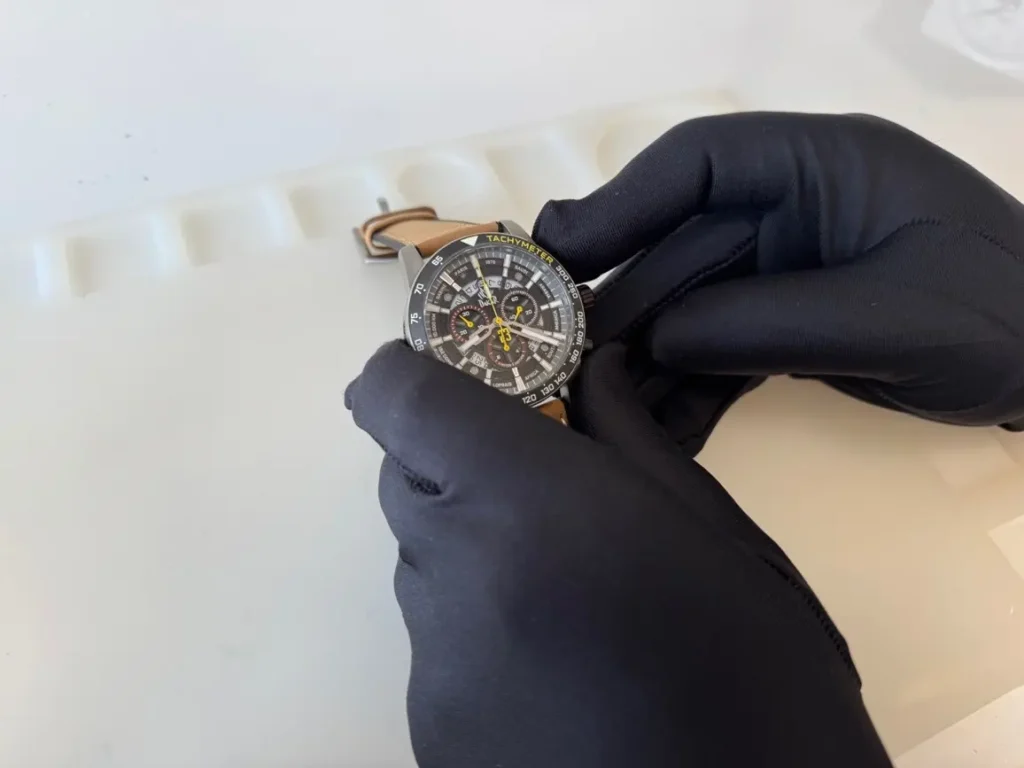
A short press of the lower button activates the hand movement.
Then press the upper button to move the hand by one step. A long press moves it continuously (alternatively, you can press repeatedly, one position at a time).
5. Setting the 30-Minute Counter Hand
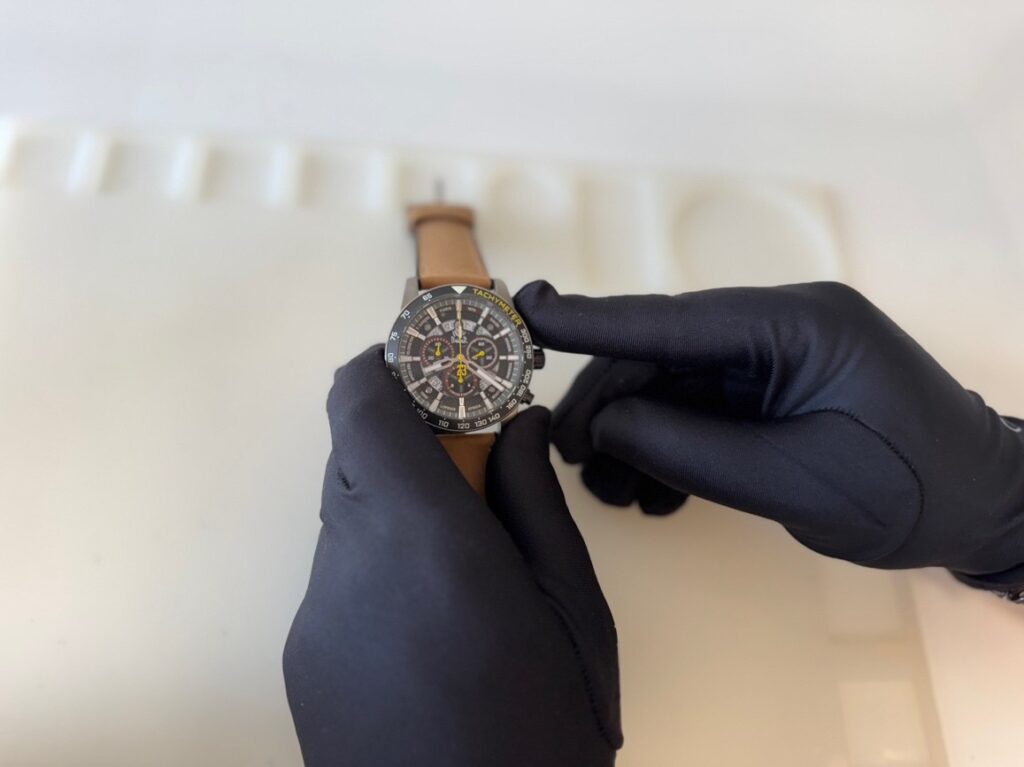
A short press of the lower button activates the hand movement of the 30-minute counter.
Then press the upper button to move the hand by one step. A long press moves it continuously (alternatively, you can press repeatedly, one position at a time).
Save the entire setting by pressing the crown.
6. Completing the Setup
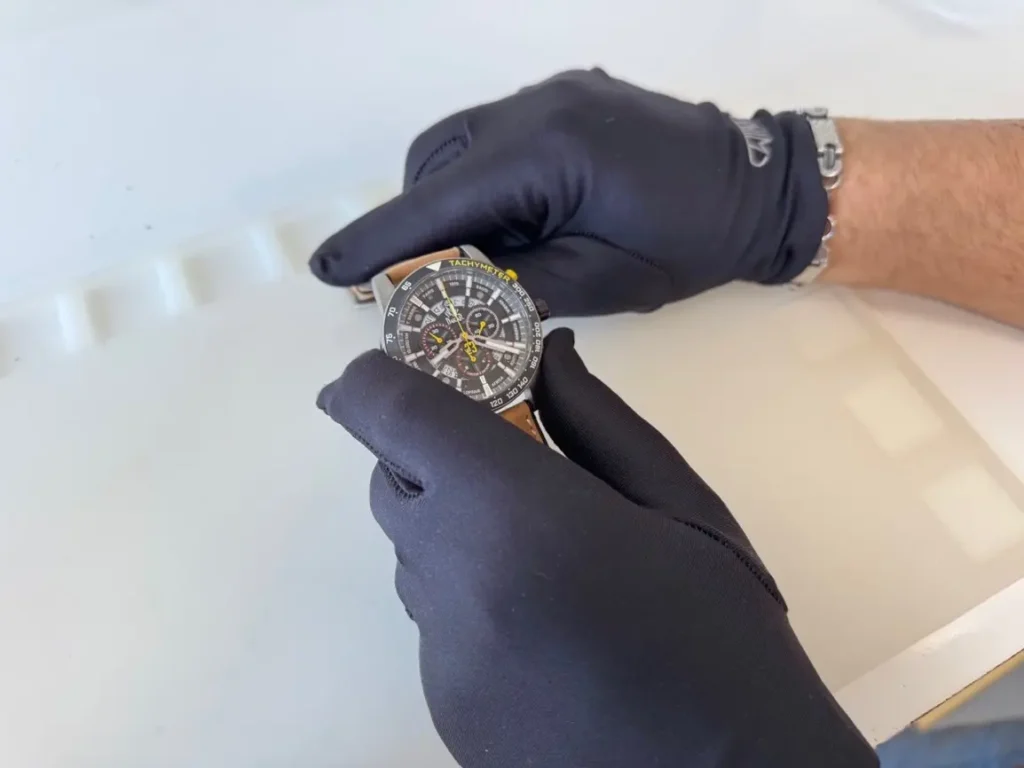
Then perform a test: first press the upper button, and once the hand rotates, press it again.
Then press the lower right button, and the hands will return to their position.
Then simply screw the crown back in.

The setup is complete and can be performed at any time.
7. Conclusion
A properly set chronograph ensures accurate time measurement.
1. Chronograph Hand Alignment to Zero Position
If the chronograph hands are not in the zero position, for example after a battery replacement, they need to be reset. We will show you how to do it.
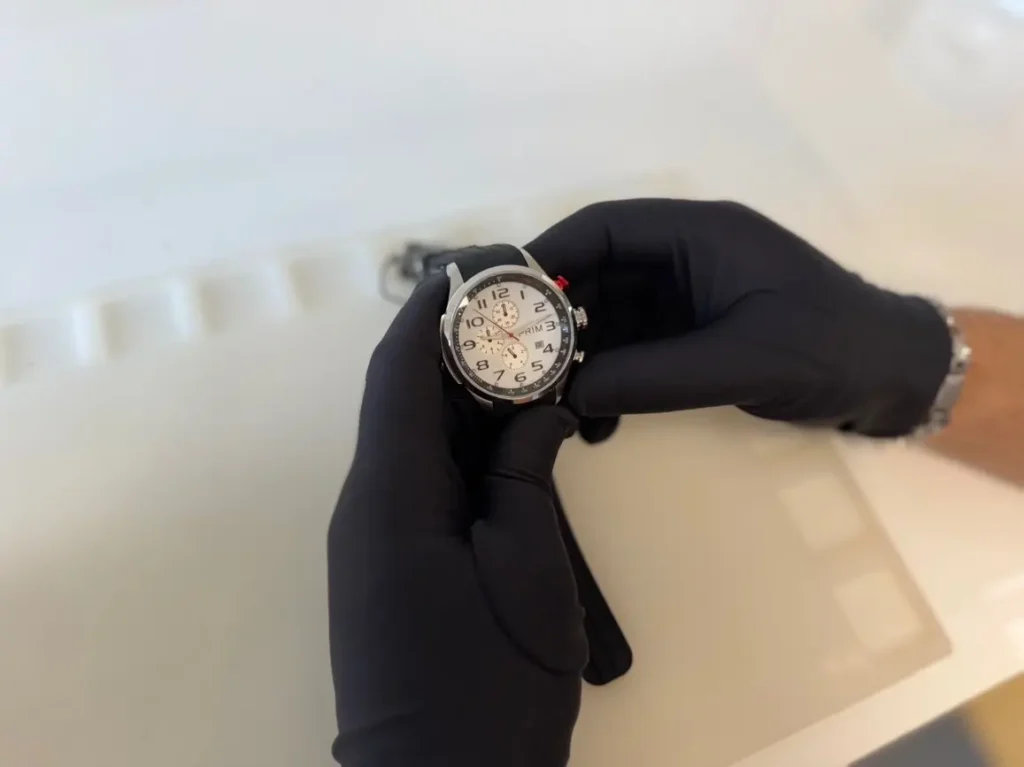
2. Activating the Correction Mode
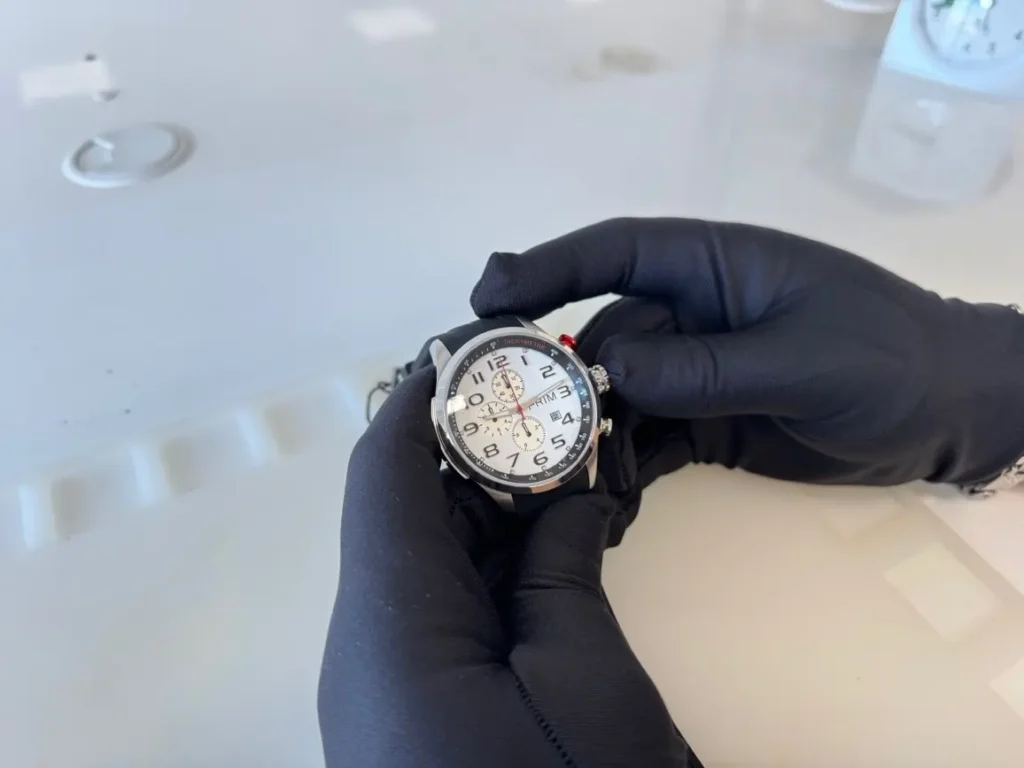
First, pull the crown to Position II (Position 0 – watch is running, Position I – time setting, Position II – hand adjustment). This activates the correction mode.
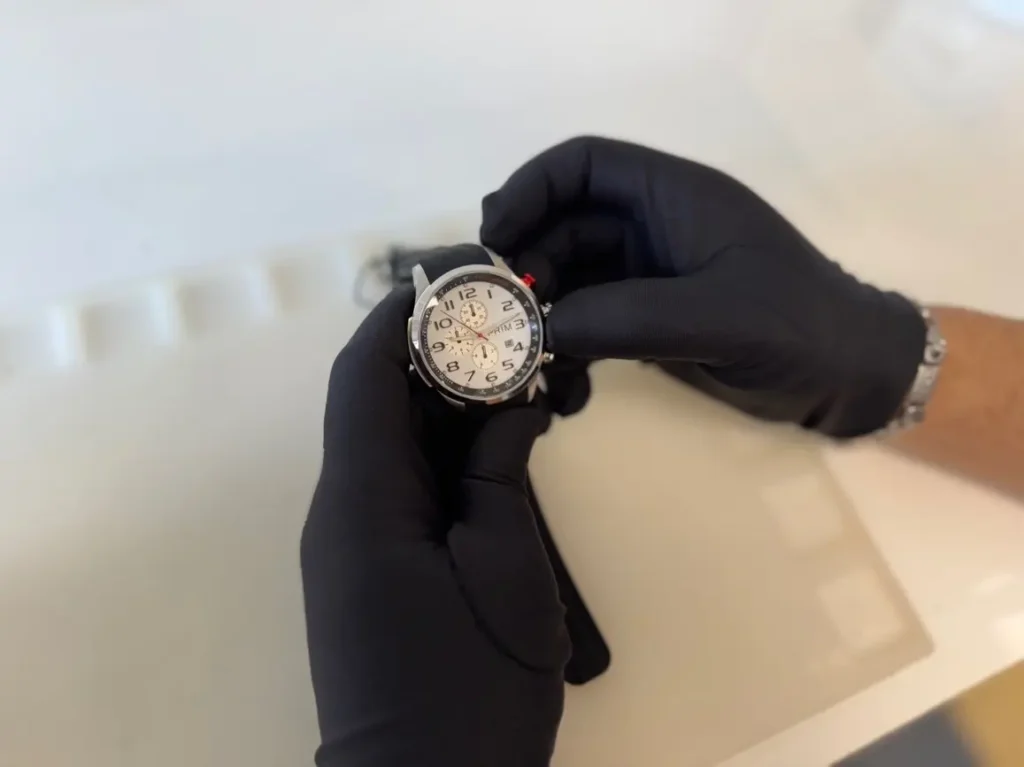
3. Setting the Seconds Hand
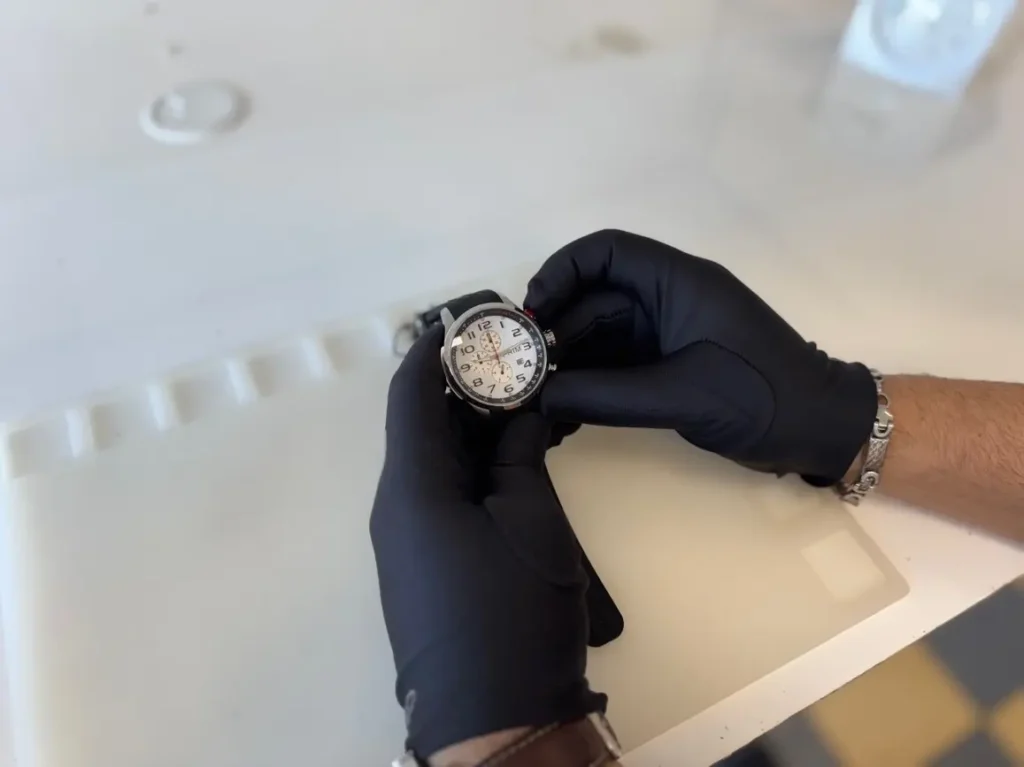
A short press of the red button moves the (red) hand by one step. A long press moves it continuously (alternatively, you can press repeatedly, one position at a time).
4. Setting the Seconds Hand (1/20 Minute Chronograph Hand)
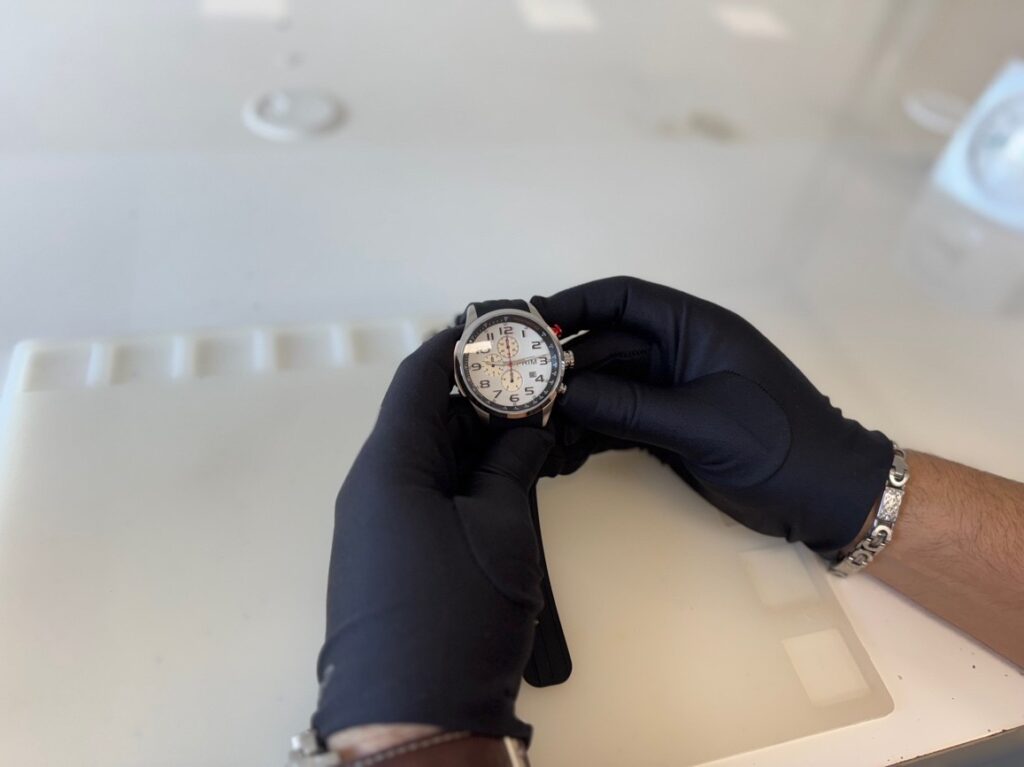
A short press of the lower right button moves the hand by one step (the hand in the sub-dial at the very bottom). A long press moves it continuously (alternatively, you can press repeatedly, one position at a time).
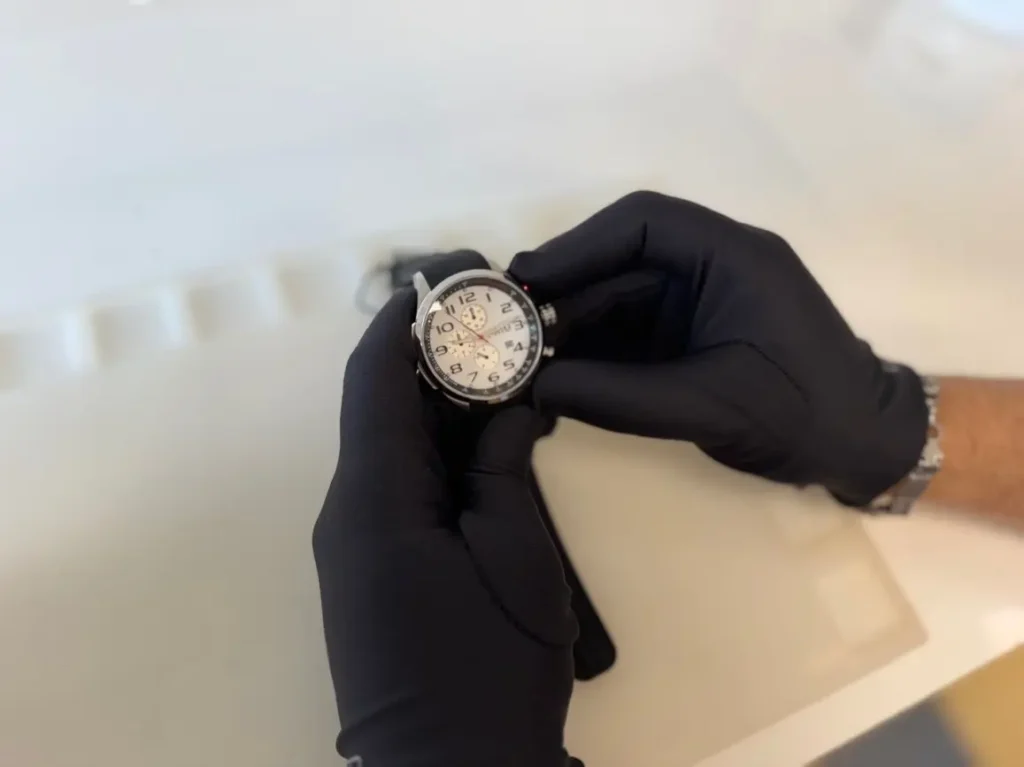
Save the setting by pressing the crown.
5. Completing the Setup
Once all hands are correctly set, return the crown to Position I. Then perform a test: first press the red button, and once the hand rotates, press it again.
Then press the lower right button, and the hands will return to their position. The setup is complete and can be performed at any time.
6. Conclusion
A properly set chronograph ensures accurate time measurement.